
|
|
|
|
An RV roof can be exposed to many different climate conditions, from boiling temperatures and constant sun, to rain, ice, cold, humidity — your RV roof likely takes more of a beating than a typical house roof. Add a few scrapes from low hanging branches and your roof can start looking like something less than new. That’s why adding a special coating to your roof is often a good idea. It adds another layer of protection against the elements and restores the roof to a “like new” condition that helps maintain the value of your RV investment. This is the first in a series of Rudy reports about coating different kinds of RV roofing material. In this report we’ll talk about coating an EPDM or TPO “rubber” roof. For rubber roofs, prep, cleaning and timing are keyCoating a rubber roof should ideally be done in one day. This allows all work to be done when the roof is in its most pristinely clean condition, while letting your coatings completely dry before any evening dew or moisture can attach itself. This takes a bit of planning, beginning with any sealant repairs that need to be made in advance. We advise that such repairs be done a week or even two weeks ahead of when you will be doing the coating. This allows sufficient time for the sealants to fully cure before being covered with the coating material. You may also need to make repairs of damaged spots with special roof repair tape. But in this instance, don’t make such repairs until right before you begin coating, because the tape is made to be coated like the rest of the roof, and if it should sit out for a few days and get wet or dirty, its bonding properties will be reduced. 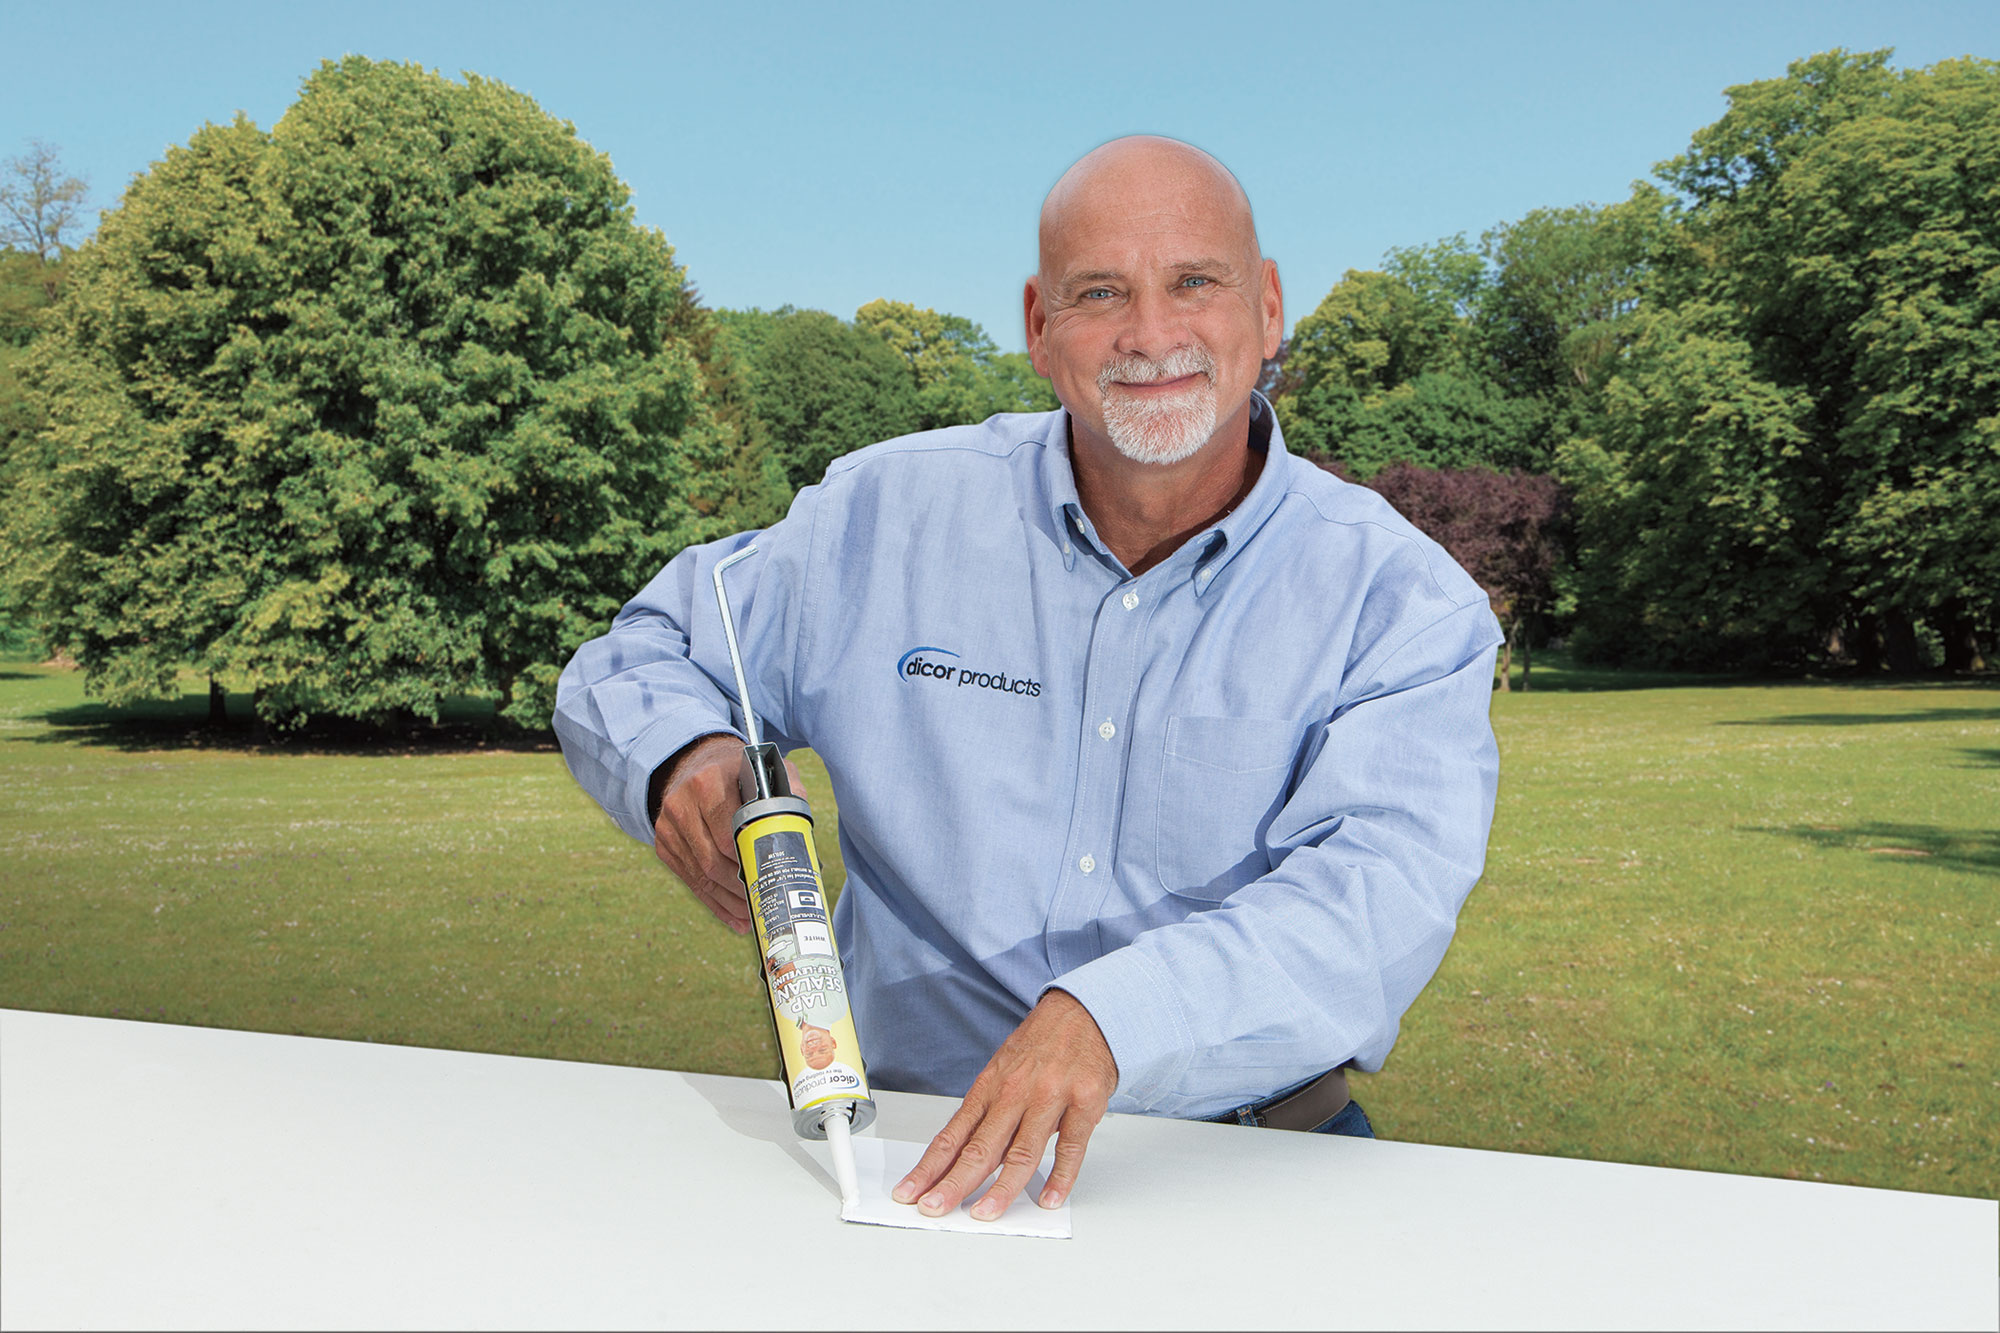 In selecting your actual work day, check the weather forecast to see that no rain is forecast for that day and the following couple of days. And on the selected day, don’t start until the morning dew has lifted. The idea is to have everything free of any moisture when you begin the process. Before starting, I highly recommend masking off the unit, front, back and sides down to the ground. This is so all the dirt and debris loosened up by the cleaner-activator doesn’t come flowing down the sides where it can streak and stick. Rudy Tip:One other recommendation before starting: take safety seriously! Walking on a roof with any kind of cleaning agent on it can be slippery and dangerous. The most efficient and safe way to perform this task is from a scaffolding set-up along the side of your RV. This will give you room to move without getting on the roof. 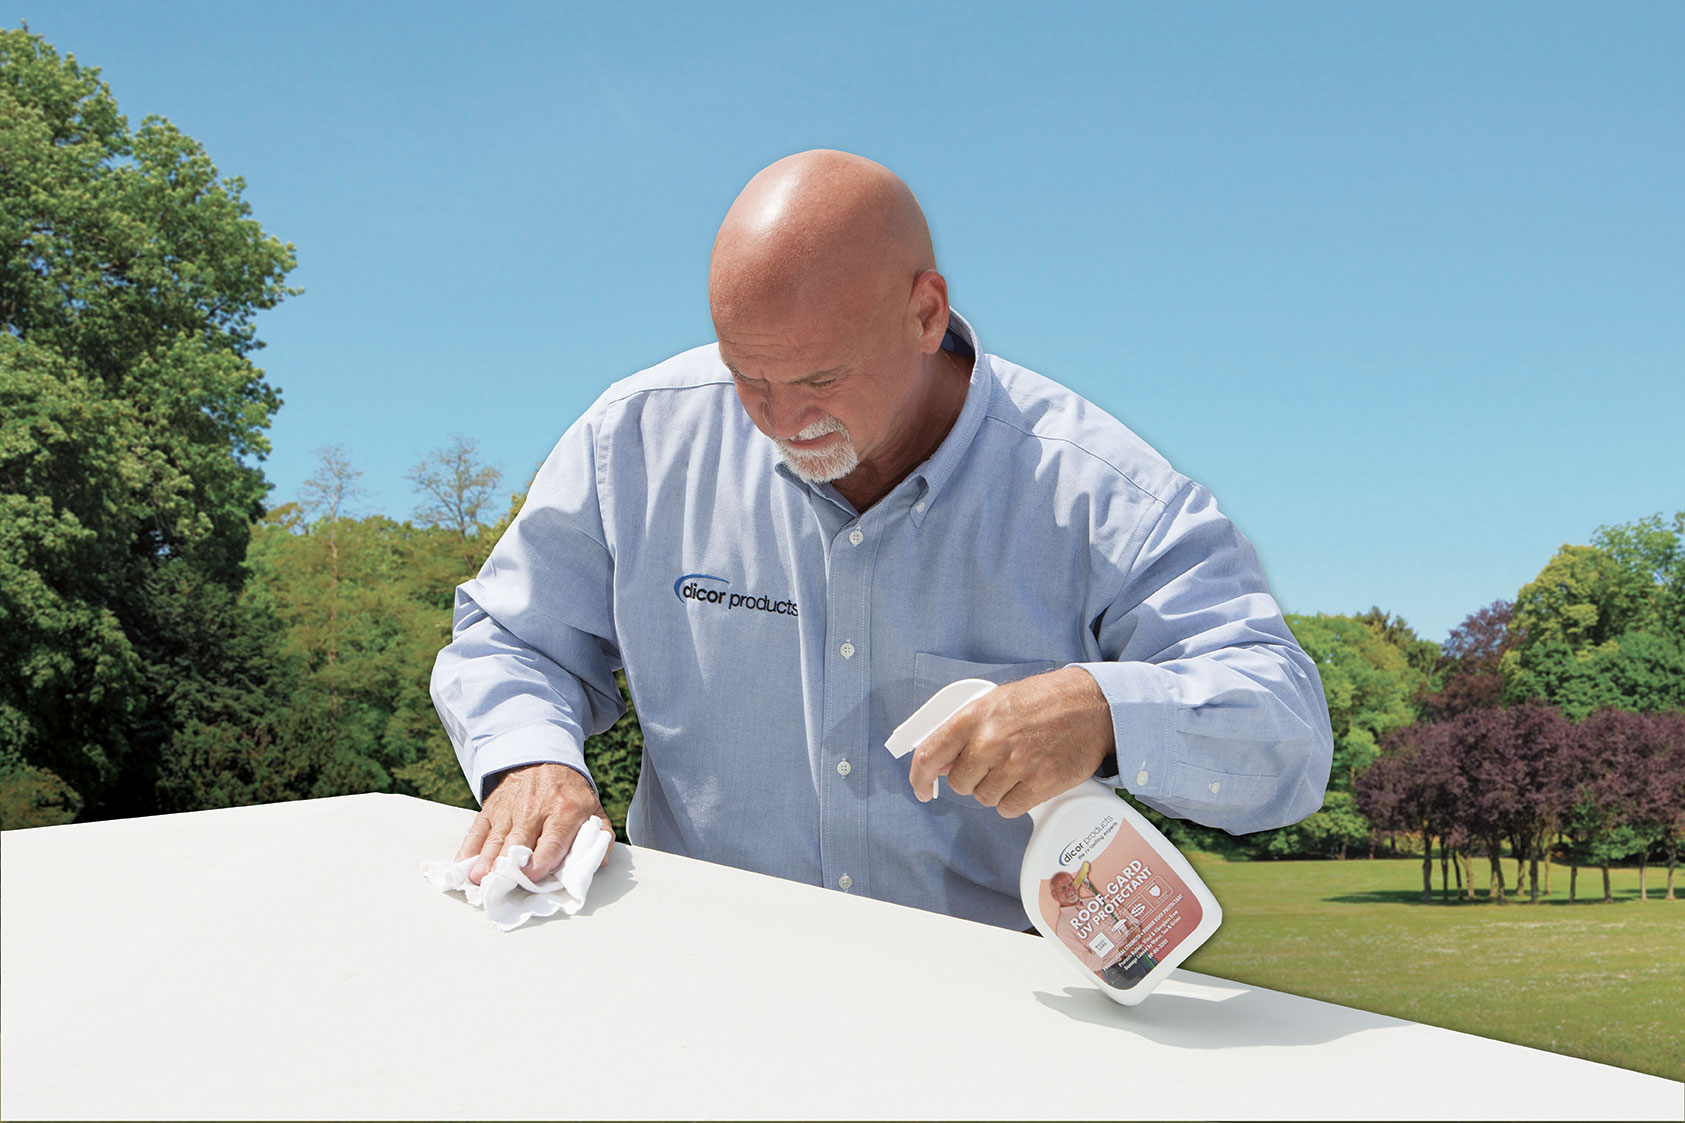 The two-step coating process begins by sweeping or blowing off any debris. Then use an appropriate cleaner-activator safe for RV roofs such as Dicor Products provides. For Dicor’s cleaner-activator you will need a couple quarts (125 sq. ft. per quart) to cover a typical 30’ X 8’ roof. We have found that the cleaner-activator is best applied with a pump-up garden sprayer. Pump up the sprayer and wet the roof down with a coarse mist. You want it just wet enough so the cleaner-activator doesn’t roll off the roof. Let the cleaner-activator stand for 15 minutes. During this time the cleaner is loosening up the dirt while the activator is opening up microscopic pores in the roof. These pores will stay open for four or five hours and help absorb your coating material for a tight bond. A quick and thorough wash procedure at this point is to use a power washer (2,500 psi or more) to rinse and clean the roof. Put it on wide wand and spray about 12 to 14 inches from the roof, starting from where you ended up and working back to where you started (if you’re on the roof, be careful about slipping!), and thoroughly wash all the dirt, chemicals and other materials off, making two passes. If you have a garden hose, work with it in conjunction with a medium bristle brush in manageable 3’ X 3’ sections. Rinse first, then scrub, and then rinse again, making sure all the cleaner-activator is off the roof. Then let the whole roof thoroughly dry. |
 |
Rudy Tip:• Use a leaf blower to blow off debris and dry your roof faster! |
|
Once dry, you can begin coating using a medium nap roller with a pan. You would need four gallons of coating material (at 125 sq. ft. per gallon) for two coats of a 30’ X 8’ or 240 sq ft roof. Again, work in manageable sections, but with your roller working in the same direction across the entire roof. Let that coat dry completely and apply a second coat, only this time working your roller in a direction 90 degrees opposite of your first coat, so the different coats crisscross each other in application. The goal here is to finish early enough in the day to still get three to four hours of sunlight on your roof before the evening dew sets in, unless you are able to move your unit inside somewhere. The coating will take from 24 to 48 hours to fully cure and dry and it is important to keep it out of the rain during this time. As a final note: new, advanced coating materials make this coating procedure even more valuable with options like Dicor Products’ new CoolCoat™ that comes with insulating properties to block heat transfer from your roof to your RV’s interior. It can keep the inside of your RV up to 29 percent cooler than your roof! But whatever coating option you choose, you will have immensely improved the looks and longevity of your rubber roof. Congratulations! Next: Coating a metal roof. |
You are receiving this email because you have asked to receieve industry related product and service announcements from Dicor Products. If you would no longer like to receive these emails you may unsubscribe at any time using the link below. |